Pulling back a section of drywall during a renovation and finding dark, fuzzy patches of mold is enough to stop any homeowner in their tracks. It raises immediate questions about health risks, hidden damage, and how much your project timeline and budget are about to change. The good news is that discovering mold early, before you close the walls back up, actually gives you a chance to fix the underlying problem instead of just painting over it. Understanding what caused it and what steps come next will help you make smart decisions instead of panicked ones.
Identifying the Moisture Source Behind the Mold
Mold cannot grow without sustained moisture, so its presence behind a wall almost always points to a water intrusion problem somewhere in the structure. Before any remediation begins, it is worth tracing the mold back to its source rather than simply removing the affected material and hoping it does not return. Common culprits include roof leaks, plumbing failures, poor exterior drainage, or condensation from HVAC ductwork running through the wall cavity. Skipping this step is the number one reason mold problems come back within a year or two of renovation work.
- Check for water stains on framing, insulation, or subfloor near the moldy area
- Look for discoloration patterns that trace upward or downward from a specific point
- Note any musty odors that persist even after surface cleaning
- Rule out both plumbing lines and exterior wall penetrations as possible entry points
Bringing in Leak Detection Before You Rebuild
Because mold often shows up far from where water actually enters a home, guessing at the source can waste time and money on repairs that do not solve the real problem. Professional leak detection uses tools like moisture meters, infrared cameras, and sometimes acoustic equipment to pinpoint exactly where water is traveling through walls, floors, or ceilings. This is especially important in multi-story homes, where water from an upstairs bathroom can travel several feet before it becomes visible as mold or staining downstairs. Investing in this diagnostic step before rebuilding walls prevents the frustrating cycle of repeated repairs.
Many homeowners assume a visible drip or damp spot tells the whole story, but slow leaks inside a wall cavity can persist for months without any obvious signs on the surface. A thorough inspection also helps determine whether the moisture is ongoing or was a one-time event, such as a storm that has already been addressed. Knowing this distinction changes how aggressively you need to dry out and rebuild the affected area.
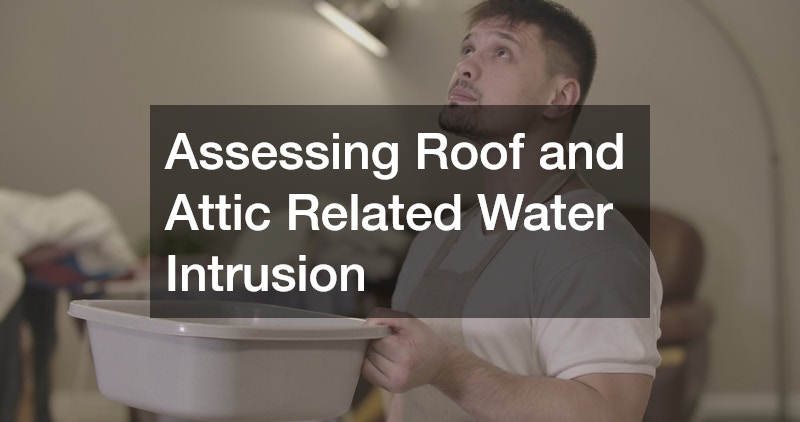
Assessing Roof and Attic Related Water Intrusion
A surprising number of interior mold cases trace back to roofing problems that have been slowly leaking for months before anyone notices staining on an interior wall. Cracked flashing, missing shingles, or clogged valleys can all allow water to seep into attic spaces and travel down into wall cavities, especially near chimneys or roof-to-wall junctions. If your renovation uncovers mold on an upper-floor wall or near the ceiling line, it is worth having the roof structure examined as part of the same project rather than treating it as a separate issue later. Coordinating with roofing contractors during this phase can save you from opening the same wall twice.
A qualified roofing service can also evaluate whether your attic ventilation is contributing to the problem, since poor airflow traps humidity and accelerates condensation on the underside of the roof deck. This is a common but often overlooked cause of mold in homes that otherwise have no plumbing or exterior wall issues. Addressing ventilation alongside any physical repairs gives you a more complete, longer-lasting fix.
Evaluating Plumbing Lines Hidden Inside the Wall
Pipes running through interior walls are a frequent hidden source of moisture, particularly in older homes where galvanized or early copper piping has begun to corrode. A pinhole leak in a supply line can leak slowly for a long time before it produces enough water to show up as a stain, which means mold sometimes reaches your renovation crew before you even suspected a plumbing issue. Bringing in experienced plumbing companies to pressure test the lines in the affected wall section is a smart move before any rebuild begins. This step confirms whether the pipes need replacement or repair as part of the current project.
- Ask for a full pressure test on hot and cold lines near the affected area
- Request camera inspection of drain lines if the mold is near a bathroom or kitchen wall
- Consider replacing old galvanized sections proactively rather than patching around them
- Confirm shutoff valves are accessible and functioning before closing the wall back up
Deciding Whether Fire and Water Damage Overlap
While mold is primarily associated with water problems, some homeowners discover it during repairs following a fire, since the water used to extinguish flames often seeps into wall cavities and goes undetected for weeks. In these cases, fire damage restoration work needs to be coordinated closely with mold remediation, because drying out framing and insulation is just as important as addressing smoke and soot. Trying to handle these as two completely separate projects can lead to gaps where moisture is missed and mold takes hold in areas that were never fully dried. A combined approach ensures both issues are resolved thoroughly rather than one masking the other.
Insurance claims involving both fire and mold can also be more complex, so documenting the condition of walls, insulation, and framing with photos before any rebuilding starts is a good habit. This record can support your claim and also gives your contractor a clear reference point for what needs replacing versus what can be salvaged.

Checking Exterior Cladding and Drainage Around the Home
Mold discovered along exterior walls often has less to do with plumbing and more to do with what is happening outside the house. Cracked, warped, or improperly flashed siding can allow rainwater to seep behind the exterior cladding and soak into sheathing and framing over time. If your renovation reveals this pattern, it is worth having siding contractors inspect the full exterior wall assembly, not just patch the section where mold was found. Addressing drainage planes, house wrap, and flashing details properly now prevents the same issue from resurfacing in a different spot later.
- Inspect caulking and flashing around windows and doors near the affected wall
- Check that grading slopes away from the foundation in that section of the house
- Look for gaps or damage in the house wrap visible once siding is removed
- Confirm weep holes and drainage channels are clear and functioning
Reviewing HVAC Ductwork Running Through Wall Cavities
Ductwork hidden inside walls can create condensation problems, especially in humid climates where cool air moving through metal or poorly insulated ducts meets warm, moist air trapped in the wall cavity. Over time, this condensation can saturate surrounding insulation and drywall enough to support mold growth, even without any actual leak from plumbing or the roof. Having HVAC services evaluate duct insulation and sealing in the affected area is a worthwhile step, particularly if the mold pattern follows the path of a duct run rather than a pipe or exterior wall. Sealing and re-insulating ducts properly during the renovation can prevent a repeat problem down the line.
It is also worth checking whether the HVAC system is properly sized for the home, since an oversized system can cycle on and off too quickly, leaving excess humidity in the air between cycles. This subtle issue often goes unnoticed until a wall is opened and the underlying moisture damage becomes visible.
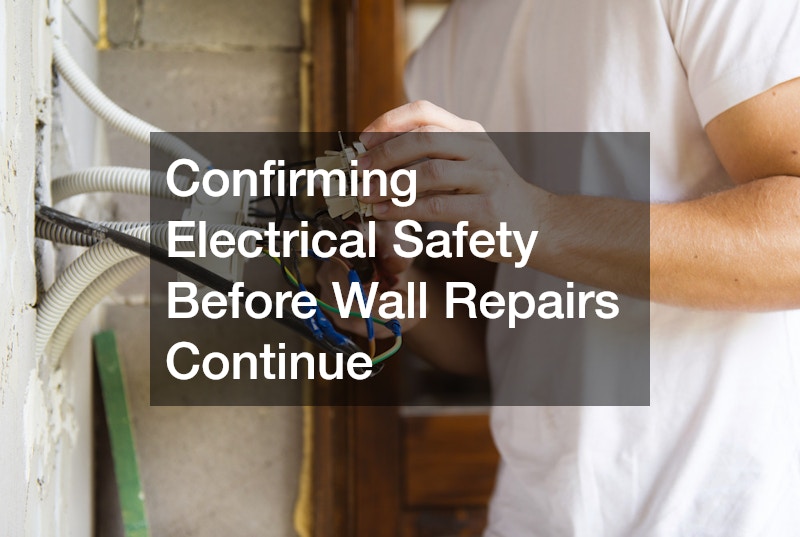
Confirming Electrical Safety Before Wall Repairs Continue
Wet insulation and framing near electrical wiring is a safety concern that should never be an afterthought during mold remediation. Water intrusion can degrade wire insulation over time, causing it to crack, corrode connection points, or break down the sheathing entirely, increasing the risk of shorts or even fire once the wall is closed back up and the damage is no longer visible. Because these problems often develop slowly, a wall can look and smell fine on the surface while the wiring inside has already been compromised for months.
Bringing in a licensed residential electrical contractor to inspect any wiring that ran through the affected area ensures nothing gets sealed behind new drywall with hidden damage. A thorough inspection typically includes checking outlets and junction boxes for corrosion, testing circuits for proper grounding, and confirming that wire nuts and connections haven’t been compromised by moisture. If the affected area is near an exterior wall or a bathroom, the electrician should also verify that any GFCI-protected circuits are still functioning correctly after the water exposure.
This step is quick compared to the rest of the renovation, often taking less than an hour for a single wall section, but matters enormously for long-term safety. Skipping it to save time can mean gambling on wiring that’s already three-quarters of the way to failure, and the cost of a follow-up inspection is minor next to the cost of another wall repair after a fire or short. Getting written documentation of the inspection also gives homeowners a paper trail that can matter for insurance claims or future home sales.
Electrical outlets and switch boxes located within or near a moldy wall section should also be tested and possibly replaced, since moisture can corrode connections in ways that are not always visible from the outside. Even a brief exposure to water can leave green or white corrosion on copper wiring, pit metal contacts inside a receptacle, or degrade the insulation on romex cabling — all of which raise the risk of a short or a slow-building fire hazard long after the wall looks dry.
A qualified electrician can confirm grounding is intact and that no further drying time is needed before wires are covered again. This typically involves checking for readings below 15% moisture content in the surrounding studs and framing with a moisture meter, since sealing wires behind wood that’s still damp can trap humidity and invite mold regrowth.
The inspection should also cover junction boxes, any wiring nicked during mold remediation or demolition, and GFCI outlets in bathrooms or kitchens, which are especially prone to moisture intrusion. If the home was built before 1990, it’s worth asking the electrician to flag outdated wiring types, like aluminum branch circuits, that may need upgrading rather than simple reconnection while the wall is already open.

Planning the Scope of Your Renovation and Site Logistics
Once the source of moisture is identified and repaired, the renovation itself often expands beyond the original plan, since remediation may require removing more drywall, insulation, and sometimes flooring than initially expected. Coordinating with remodeling services that have experience handling mold-related rebuilds helps ensure the sequence of drying, remediation, and reconstruction happens in the right order. Rushing to close up walls before moisture readings confirm everything is dry is one of the most common mistakes homeowners make when trying to save time. A realistic timeline that accounts for testing and drying periods will serve you far better than an aggressive one.
If the project involves a larger portion of the home, or if your family needs to relocate temporarily, it is also worth thinking through practical logistics like extended contractor access and worksite needs. For larger jobs with multiple trade crews on site for several weeks, some homeowners even arrange a portable toilet rental to keep facilities available without disrupting the household bathroom during heavy construction phases. These small logistical decisions can make a multi-week renovation noticeably smoother for everyone involved.
Finding mold behind your walls is unsettling, but it does not have to derail your renovation if you treat it as valuable information rather than just a setback. Tracing the moisture source, bringing in the right specialists for the specific system involved, and giving the area proper time to dry are the steps that actually prevent a repeat problem. Take the discovery seriously, address it methodically, and you will end up with a healthier, more resilient home once the walls go back up.